How to Put On a Baby Carrier: Buckle Carrier Steps
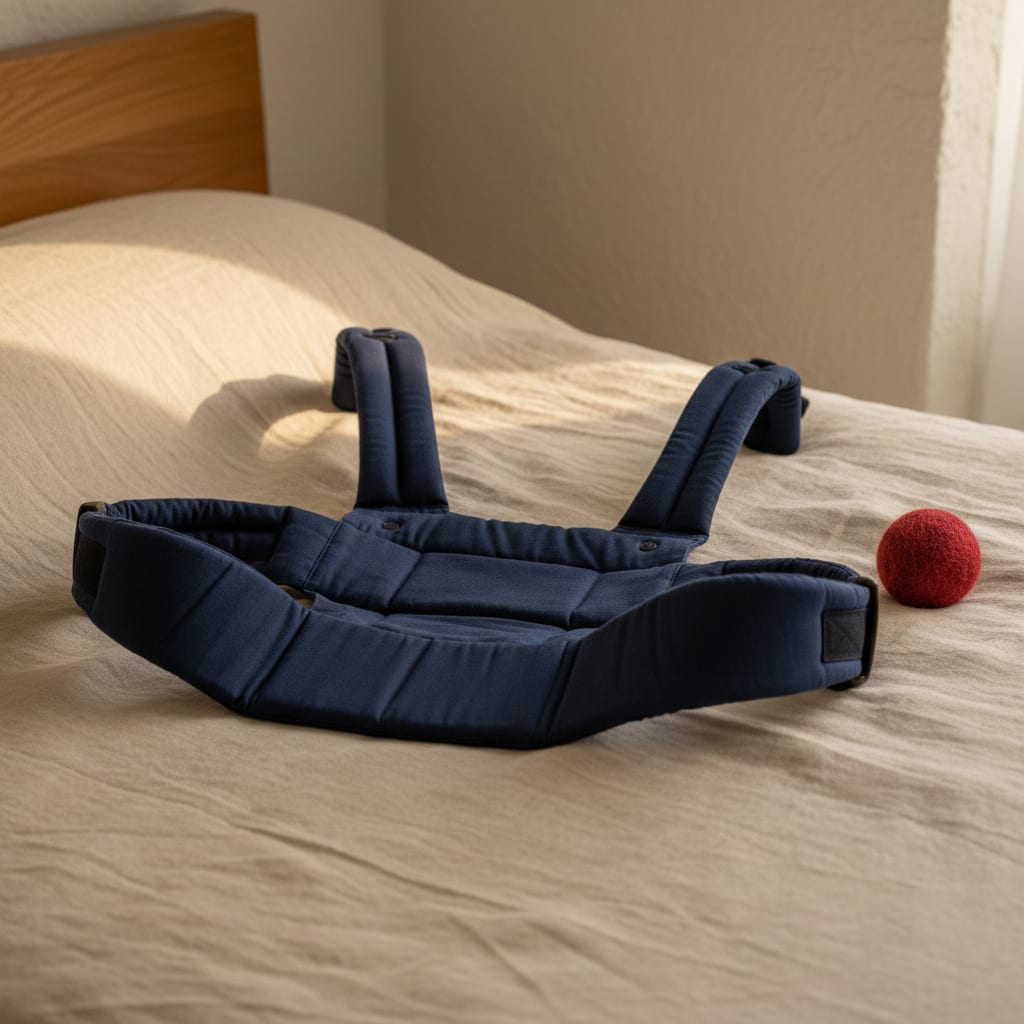
To put a baby carrier on, buckle the waistband first and set it high on your waist, then lift your baby to your chest with their legs around you. Bring the panel up their back, slip one arm and then the other through the shoulder straps, and fasten the buckle that joins the straps. Tighten until your baby sits snug and high, run the TICKS check, and keep one hand on them until every buckle is done. That is how to put a baby carrier on for a front carry facing in, and it takes about a minute once your hands know the order.
These steps are for a soft structured (buckle) carrier; the soft structured carrier guide names every part. Read your own manual too, because weight minimums and newborn settings vary by model.
Before the first carry: practice empty
Ireland’s HSE carrier safety page says to “practise putting baby carriers and slings on and off before using them with your baby” and to check “that the buckles and straps are secure.” Do two dry runs with no baby, so you know where each buckle is and which way each strap tightens.
Then set it up for this baby:
- Seat width. On an adjustable panel, set the seat so the fabric will reach from knee to knee.
- Straps loose. Start with both shoulder straps let right out. You tighten at the end.
Step 1: The waistband, and where it sits
Buckle the waistband with the panel hanging down in front of your legs. Tula’s carrier instructions say to tighten it with the adjustable strap and that “the carrier’s panel should be centered on your body.”
Height is the part people get wrong. A young baby needs the waistband high, around your natural waist or a little above, because they sit on top of it: Tula says your child’s bottom should be “deep in the panel just above the waist belt.” A low waistband means a low baby. For a toddler it can sit lower, on the hips. Snug it firmly; it should carry most of the weight.
Step 2: Load your baby on your own
Standing (the Tula method). Hold your baby against your chest so they can wrap their legs around your waist. With one hand supporting them, use the other to lift the panel up behind their back. Keep supporting them with one arm while you slip your other arm into its strap, then switch hands and do the second strap.
Sitting. Sit on the edge of a bed or a sofa with the waistband on and the panel lying across your lap. Hold your baby upright against your chest, their legs either side of you. Draw the panel up their back, then arms into the straps as above. If anything slips, they land on a bed.
Either way, check the seat now: bottom deep in the panel, fabric under both thighs to the backs of the knees, knees a little higher than the bottom. That is the M-position.
Step 3: The buckle behind your back
The shoulder straps join with a buckle across your upper back; Tula’s instructions say “Buckle the chest behind your shoulders.” It is the step most people struggle with. Three things help:
- Lower the buckle first. With the straps loose, slide the buckle down so it sits around your shoulder blades rather than up at your neck.
- Buckle, then tighten. Click it while everything is loose, then pull the straps.
- Cross the straps if your carrier allows it. Some carriers can be worn with the straps crossed on your back instead of joined by a buckle. Your manual will say. Crossing removes the back buckle from the routine.
Step 4: Tighten in order
- Shoulder straps. Pull each one, a little at a time and evenly on both sides. Tula says to pull “on the adjustable straps for a snug fit.”
- The waistband again. Your baby’s weight often drags it down a little.
- Any side or panel straps your model has, last.
If one strap ends up much tighter than the other, or your shoulders ache within ten minutes, loosen both and start again from even.
Step 5: TICKS before the first step
The HSE spells out the checks:
- Tight: “high up and in an upright position with their head supported.”
- In view: you can see their face by glancing down.
- Close enough to kiss: “By tipping your head forward, you should be able to kiss your baby on the head or forehead.”
- Keep the chin off the chest: “a space of at least a finger width under your baby’s chin.”
- Supported back: their back in its natural position, tummy and chest against you.
The AAP’s carrier guidance adds two habits: check often that their mouth and nose are not blocked by fabric or your body, and bend at the knees, not the waist. More on each check is in babywearing safety.
Taking your baby out
Do it in reverse, and never let go:
- Put one hand under your baby’s bottom and keep it there.
- Loosen the shoulder straps.
- Unclip the back buckle, or uncross the straps.
- Slip one arm out of its strap, then swap hands and slip the other out.
- Lift your baby up and out.
- Undo the waistband last.
If your baby has fallen asleep, the AAP’s safe sleep guide says to move a baby who falls asleep in a carrier “to a firm sleep surface on their back as soon as possible.” Loosen slowly and lower them bottom first.
A worked example
Any buckle carrier with a structured waistband follows this sequence. The steps above quote Tula’s instructions, and the Tula Original (formerly the Free-to-Grow) is a reasonable one to learn on; Tula’s page gives it 7 to 45 pounds. Back carries load a different way, with the hip scoot in the back carry guide.
The dry aside: every carrier is easy to put on in the shop. The real test is a parking lot, in the rain, with a hungry baby.
 Carrier on. Now time the nap.
A carrier works best when the nap lands at the right moment. Betteroo turns a short quiz into nap and bedtime timing for your baby's age.
Take the sleep quiz →
FAQ: putting on a baby carrier
How high should the waistband be?
High enough that your baby’s head ends up close enough to kiss. For a newborn that usually means around your natural waist or a little above. For a toddler it can sit lower, on the hips.
Why can’t I reach the buckle behind my back?
Usually because the straps are already tight or the buckle is up at your neck. Loosen the straps, slide the buckle down to shoulder-blade height, click it, then tighten.
Do I need a second person the first time?
It helps. For its back carry, Tula’s instructions say to “have someone assist you until you feel comfortable,” and the same logic suits a first front carry. At the very least, do your first few carries over a bed.